How to Register iOS Device to a Developer Provisioning Profile
How to obtain your iOS device’s ID and Register an iOS Device to a Development Provisioning Profile so you can sign iOS apps in development and testing.
When signing iOS apps, you can use an “iOS App Development” provisioning profile. This profile is designed to be used for development and testing. An app signed with this profile can only be installed on a pre-defined set of up to 100 devices assigned to the apple developer id. It’s not recommended to use an “iOS App Development” provisioning profile for production deployment of mobile apps.
If you do sign your iOS app with an iOS App Development provisioning profile, and the app does not install on a device, one of the reasons could be that the device’s ID is not in the list of device IDs included in the provisioning profile.
This knowledge base article shows you how to obtain your iOS device’s ID and ensure that the device ID is in your iOS App Development provisioning profile.
How to Register iOS Devices to a Development Provisioning Profile
First, you will have to find your device’s UDUD (Unique device identifier)
How to find and iOS device’s UDID:
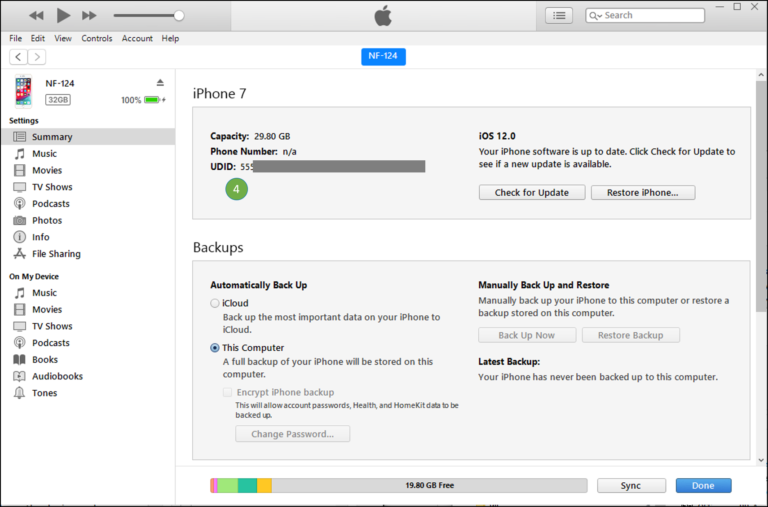
Using iTunes (on Mac or PC):
- Connect your device to a computer and turn on iTunes (the device may need to sync)
- Click the Device button.
- Click the words “Serial Number“.
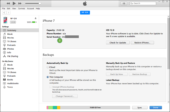
- The field is changed to device’s UDID
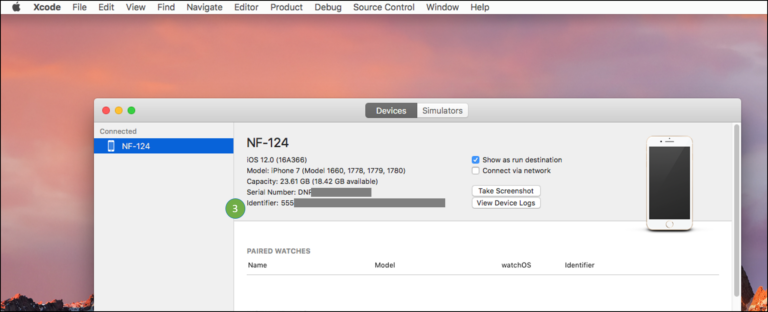
Using Xcode (on Mac):
- Connect the device to a Mac machine and turn on Xcode.
- Click Window –> Devices and Simulators.
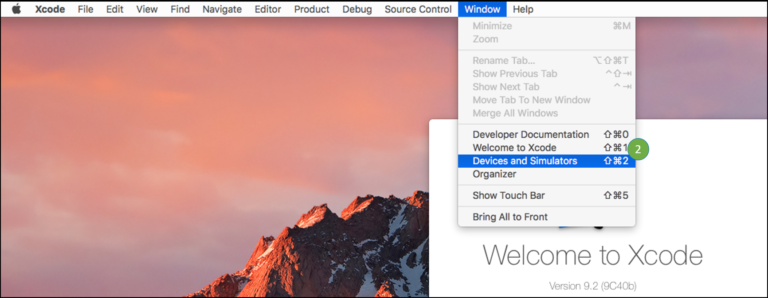
- UDID appears in the Identifier field.
Alternatively, you can use a service like http://udid.io, which installs a profile on the device and can retrieve the UDID very easily.
Now that you know the device’s UDID, you need to find what devices are registered to the provisioning profile.
How to find and UDIDs registered to a Development Provisioning Profile:
If you have access to the provisioning profile file itself, open it using a text editor and search for “<key>ProvisionedDevices</key>“. After this key, you will find an array of UDIDs registered to the profile:
    <array>
        <string>xxxxxxxxxxxxxxxxxxxxxxxxxxxxxxxxxxxxxxxx</string>
        <string>yyyyyyyyyyyyyyyyyyyyyyyyyyyyyyyyyyyyyyyy</string>
        <string>zzzzzzzzzzzzzzzzzzzzzzzzzzzzzzzzzzzzzzzz</string>
    </array>
If you only have access to the signed app binary, you can extract the provisioning profile from the app file:
- Unzip the app file.
- Open the Payload folder.
- Open <appname>.app folder
- Open the file “embedded.mobileprovision” with a text editor and continue as above.
How Do I Learn More?
If you have any questions, please send them our way at support.appdome.com or via the chat window on the Appdome platform.
Thank you!
Thanks for visiting Appdome! Our mission is to secure every app on the planet by making mobile app security easy. We hope we’re living up to the mission with your project. If you don’t already have an account, you can sign up for free.