How to Configure AWS Virtual Server for a WAF to Use Appdome MobileBOT™ Defense
Introduction
Web Application Firewalls (WAFs), like the one offered by AWS, play a crucial role in protecting web applications from a wide range of cyber threats. When combined with Appdome’s MobileBOT™ Defense solution, businesses can achieve an unparalleled level of protection for their mobile applications. This article will guide you on configuring your AWS Virtual Server to connect to a WAF so it can work seamlessly with Appdome MobileBOT™ Defense.
Before delving into the steps, let’s understand some of the terms used:
MTLS (Mutual Transport Layer Security): Mutual TLS (mTLS) is a method for mutual authentication in which both parties in a network connection validate the SSL certificates presented by each other against a trusted root Certificate Authority (CA) certificate.
Client Certificate: In cryptography, a client certificate is a type of digital certificate is used by client systems to make authenticated requests to a remote server.
Safe Session: Represents sessions that are determined to be safe or not at risk of any threat.
At-Risk Session: Represents sessions that are potentially under threat or have detected anomalies.
Header Payload: The data transferred in the header of HTTP requests or responses. Protecting this data ensures that it cannot be tampered with during transit.
Prerequisites for Using AWS & Appdome Docker Image
In order to use the AWS Virtual Server in conjunction with Appdome, you’ll need:
- An AWS server with admin permissions
- An Android or iOS app secured by Appdome MobileBOT™ Defense
- An Appdome MobileBOT™ Defense License
How to Configure the WAF to Parse Safe Session and At-Risk Session
When Appdome’s code is integrated into the AWS Virtual Server, it enhances the firewall’s capability to determine the validity of a session. To categorize sessions as “Safe Session” or “At Risk Session”, Appdome’s code analyzes specific headers within incoming requests: Timestamp, Nonce, and SignedMessage. The Timestamp header allows Appdome’s code to detect potential delay attacks by comparing the request’s timestamp with the server’s time. The Nonce, a unique random value, ensures the uniqueness of each request, protecting against replay attacks. The SignedMessage, typically an RSA-encrypted SHA256 hash of the timestamp, nonce, and a shared secret, ensures the integrity of the request.
Getting Started with AWS Setup and Configuration
Setting up a Linux Server on AWS
Follow these steps to configure a Linux server on AWS and launch a Docker container with open network settings.
- Create an EC2 instance
-
- In the AWS portal, navigate to the EC2 Dashboard.
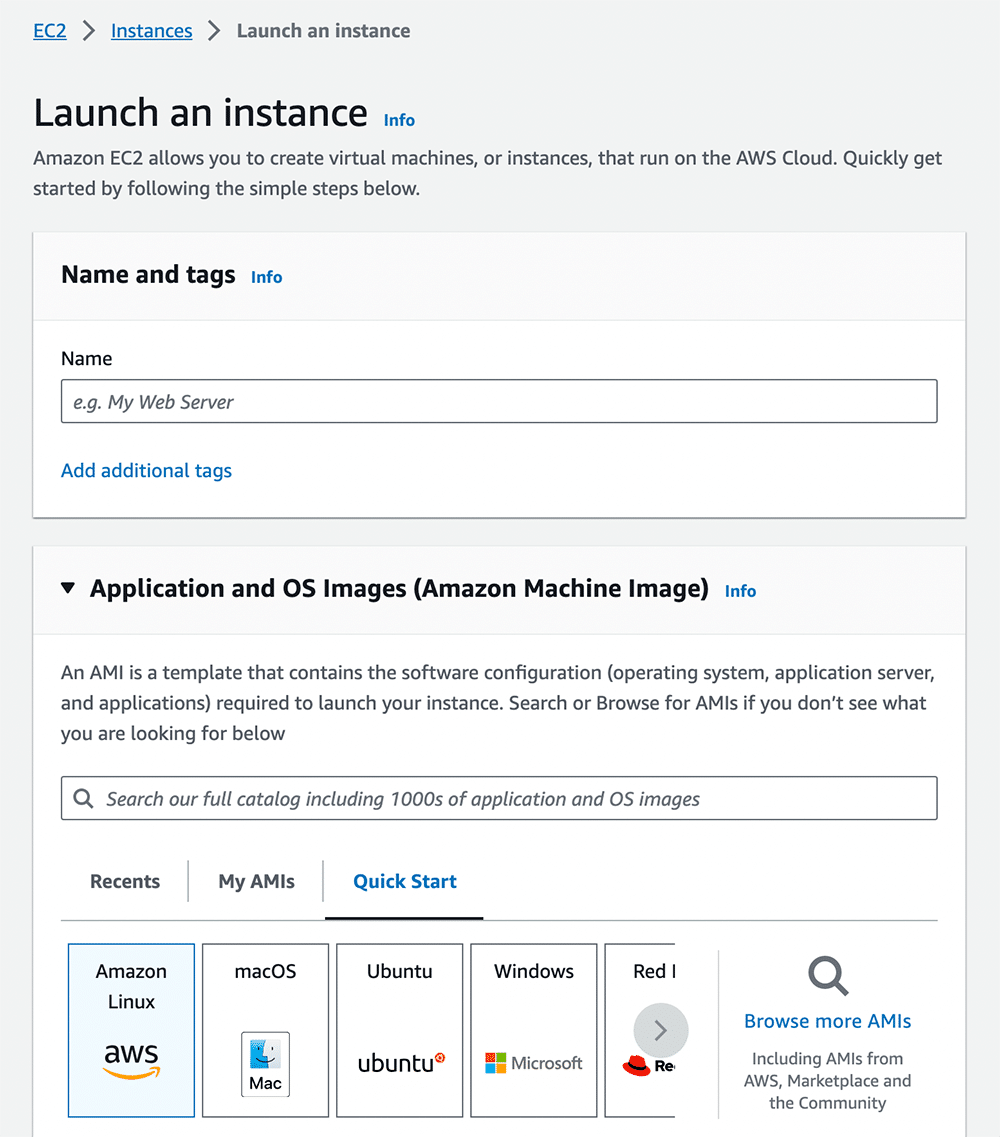
- Click “Launch Instance” to create a new EC2 instance.
-
- Create a Virtual Machine (VM)
- In the AWS portal, go to EC2 -> Instances -> Launch an Instance
- Choose an Amazon Machine Image (AMI) with your preferred Linux distribution (e.g., Amazon Linux, Ubuntu, CentOS)
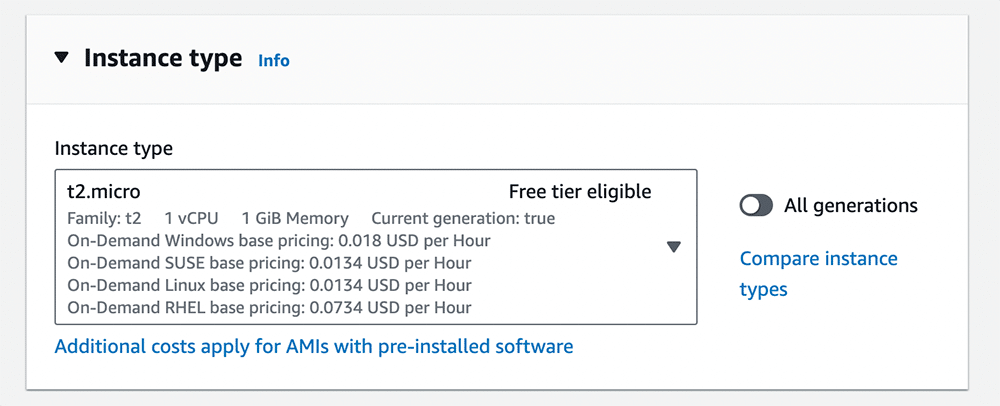
- Select Instance type
- Note: Make sure to select a VPC that allows the AWS server to send and receive traffic from both the server (i.e. Radware) and your organization end-point server.
- Note: Make sure to select a VPC that allows the AWS server to send and receive traffic from both the server (i.e. Radware) and your organization end-point server.
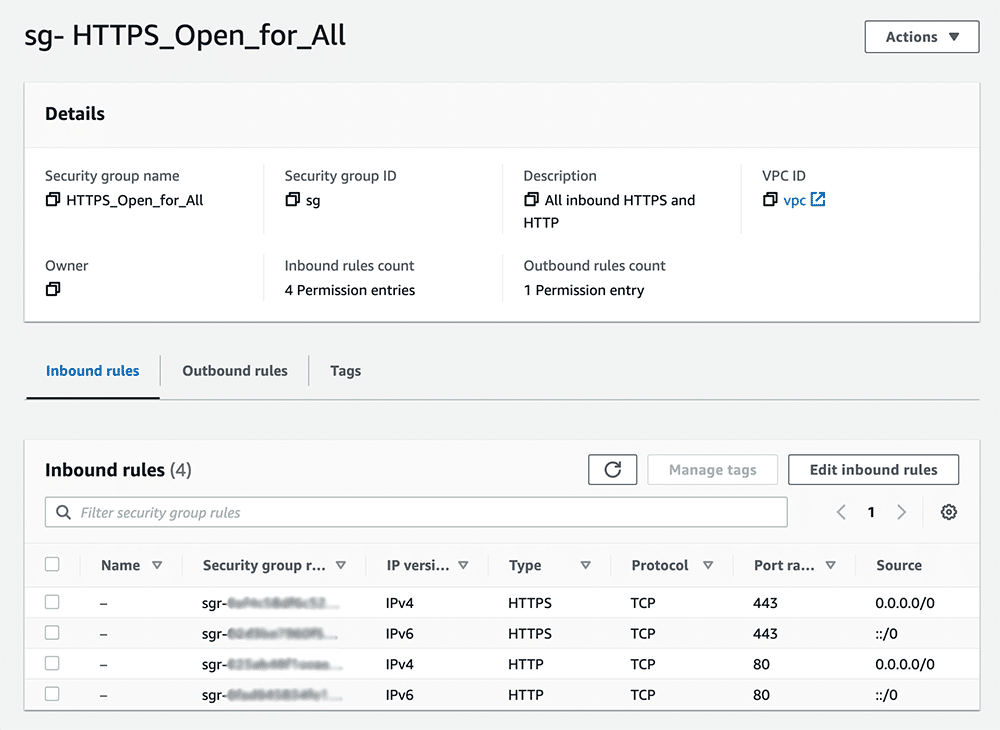
- Configure security groups
- This allow inbound traffic on the necessary ports (e.g., 80, 443).
- This allow inbound traffic on the necessary ports (e.g., 80, 443).
- Click on Launch Instance
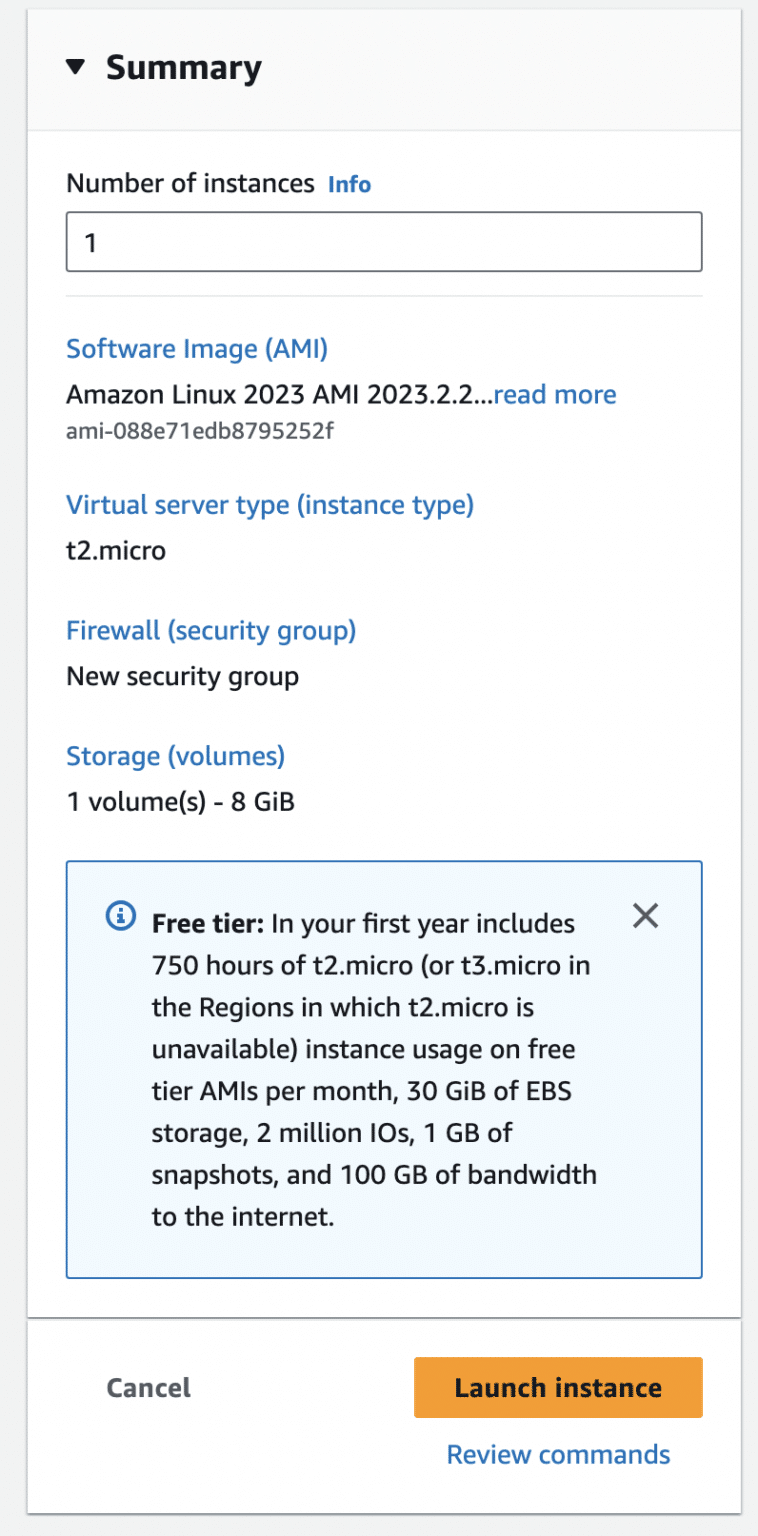
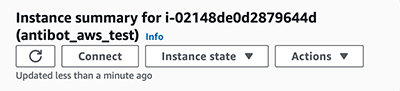
- Select your newly created instance.
Connect SSH to Your EC2 Instance
- Click Connect
- Navigate to the SSH Client Tab
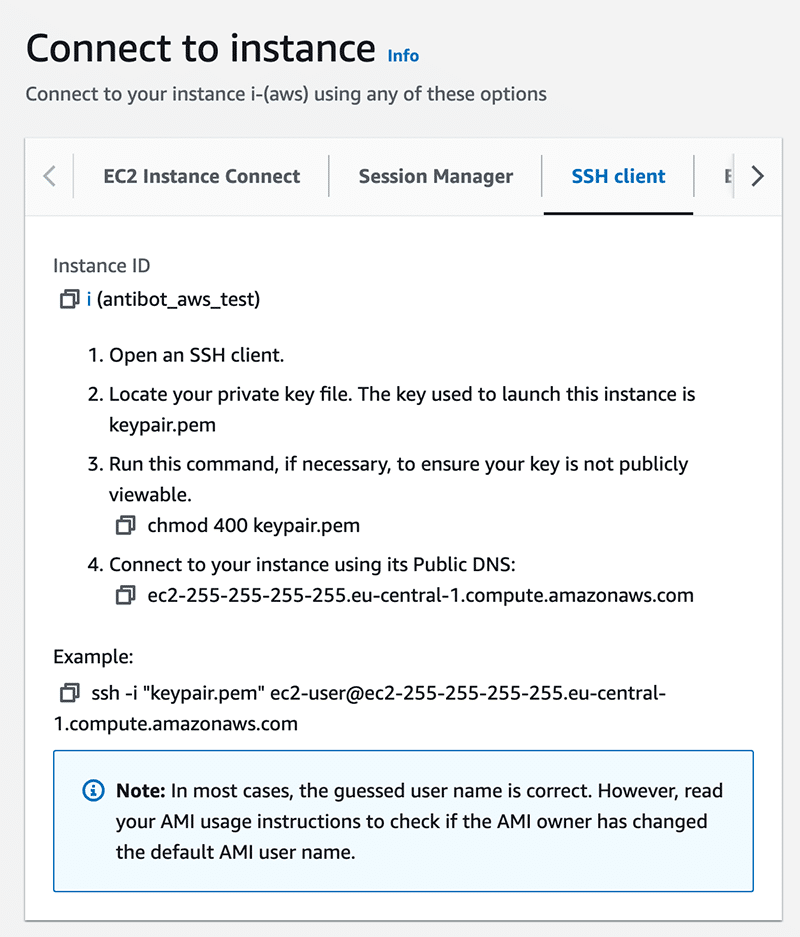
3. Enter the following SSH command to connect to your EC2 Instance
ssh -i YOUR_KEY_PAIR.pem ec2-user@YOUR_INSTANCE_IP Note: Make sure to replace placeholders such as YOUR_KEY_PAIR.pem, YOUR_INSTANCE_IP, and any other specific details with your actual values and preferences.
Running a Docker Container on an AWS Server
Inside your EC2 instance, install Docker:
sudo yum update -y sudo amazon-linux-extras install docker sudo service docker start sudo usermod -a -G docker ec2-user IP Run a Docker Container
docker run hello-world Validate that it works by connecting to it with an ssh such as:
ssh ubuntu@my.machine.netTo learn more, see the installation instructions for Installing Docker Engine on Ubuntu
Configure Appdome’s Docker Image
Related Articles:
- MobileBOT™ Defense
- Using F5 WAF with Appdome MobileBOT™ Defense
- Using Akamai WAF with Appdome MobileBOT™ Defense
- Using Cloudflare WAF with Appdome MobileBOT™ Defense
How Do I Learn More?
If you have any questions, please send them our way at support.appdome.com or via the chat window on the Appdome platform.
Thank you!
Thanks for visiting Appdome! Our mission is to secure every app on the planet by making mobile app defense easy. We hope we’re living up to the mission with your project. If you don’t already have an account, you can sign up for free.