How to Add Android and iOS Apps to DevSecOps CI/CD Build System with Appdome
This Knowledge Base article provides step-by-step instructions on how to begin a no-code mobile app security project on Appdome.
Beginning a No-Code Mobile App Security Project
Appdome is a unified mobile app defense platform for Android and iOS apps. With Appdome, mobile brands can integrate over 300 mobile app security features, anti-fraud measures, anti-malware protections, anti-cheat mechanisms, anti-bot defenses, geo compliance, and other security features seamlessly into the mobile DevOps pipeline. This end-to-end automation enables users to easily integrate any external feature set(s) into one or more mobile apps within minutes (sometimes seconds) through a simple point-and-click interface.
With Appdome, you can upload your mobile app binaries (in .ipa, .apk, or .aab format) into your private workspace or a team workspace associated with your account. From there, you can access Appdome’s Mobile Integration Workflow to complete your mobile integration projects.
Additionally, during the upload process, the Appdome Integrity Service automatically verifies the integrity of your app to ensure it was built correctly.
Prerequisites to Begin a No-Code Mobile App Security Project
Here’s what you need to begin a no-code mobile app security project on Appdome
- Appdome account ( Create a free Appdome account here)
- Mobile App (.ipa for iOS, or .apk or .aab for Android)
- Signing Credentials (e.g., signing certificates and provisioning profile)
How to Upload Any Mobile App to Appdome
Follow these step-by-step instructions to upload your app to Appdome.
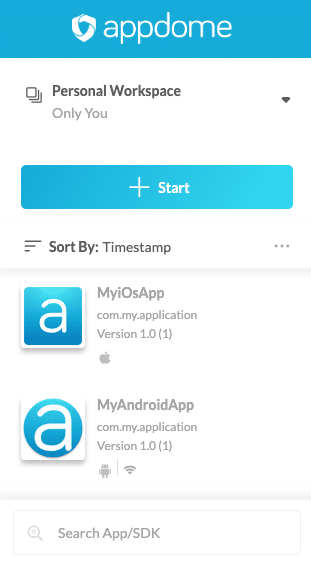
- Select your Personal Workspace
- Click on the + Start button.
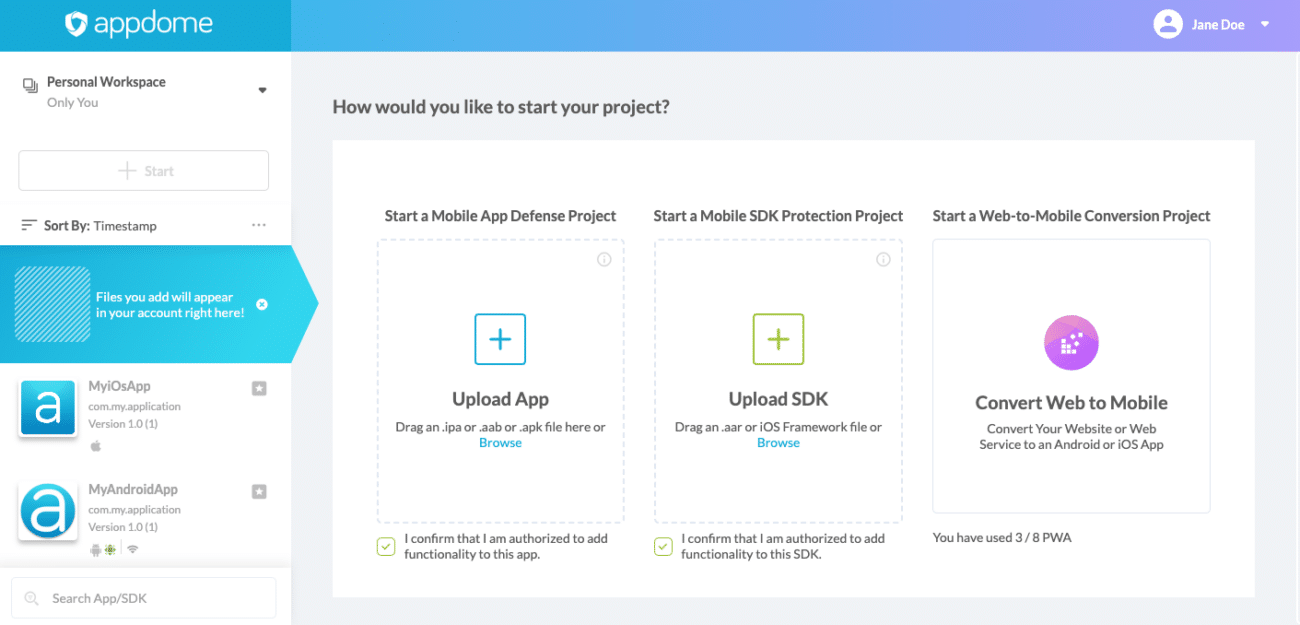
- Click on Upload App
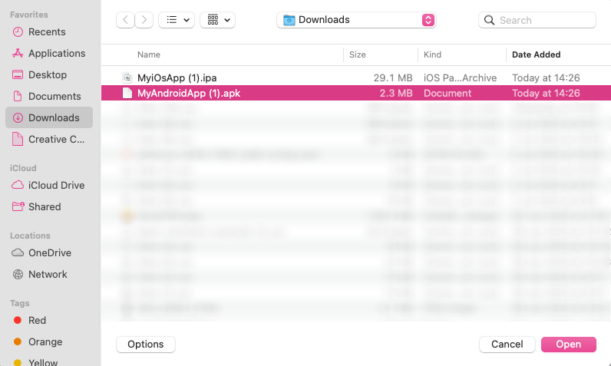
- Click the + sign and browse for a file, as seen below. Alternatively, drag a file to the dialog box.
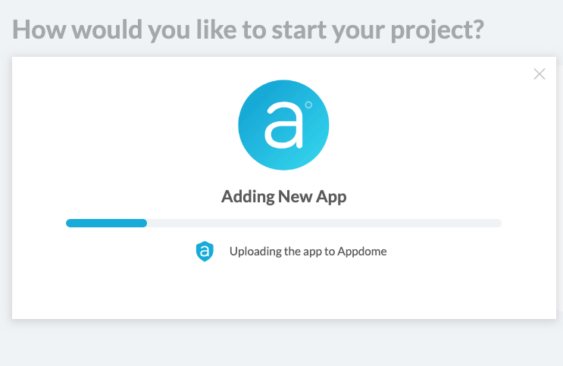
- A progress bar appears to display the upload process.
- After the upload process is completed successfully, you can integrate your uploaded app with Appdome’s mobile integration platform by clicking Let’s start building.

Integrating Security Features: Manual Method vs. CI/CD Pipeline
Manual Method
- Upload Your App: Follow the steps outlined above.
- Toggle On Security Features: Use Appdome’s point-and-click interface to select the desired security features.
- Create and Save Fusion Set: Save your configurations into a Fusion Set.
- Sign the App: Use your signing credentials to sign the app (For iOS, a P12 File, Provision Profile, and Entitlement list are required, and for Android, a Keystore file is required).
- Click Build My App: This will initiate the building process with the selected security features.
CI/CD Pipeline Method
- Upload Your App: Follow the steps outlined above.
- Toggle On Security Features: Use Appdome’s point-and-click interface to select the desired security features.
- Create and Save Fusion Set: Save your configurations into a Fusion Set.
- Copy Fusion Set ID, Appdome API Token, and Build2Secure Plugin:
- These details can be integrated into your chosen CI/CD pipeline (e.g., Jenkins, TeamCity, Bamboo, GitLab, Bitrise, GitHub, etc.).
Detailed CI/CD Integration Guides
For specific instructions on integrating Appdome with various CI/CD systems, refer to the following articles:
Related Articles
- Using Certified Secure™ Android & iOS Apps Build Certification in DevOps CI/CD
- How to Automate Secure iOS App Code Signing in DevOps CI/CD
- How to Secure Android & iOS Apps in Bitrise CI/CD Pipelines
How Do I Learn More?
If you have any questions, please send them our way at support.appdome.com or via the chat window on the Appdome platform.
Thank you!
Thanks for visiting Appdome! Our mission is to secure every app on the planet by making mobile app security easy. We hope we’re living up to the mission with your project.