How to Test Secured Android Apps on Google Firebase Robo Test
Learn how to Test Appdome-secured Android Apps using the Google Firebase mobile testing suite. Appdome works with all leading mobile automation testing solutions to help customers achieve comprehensive mobile app security at DevSecOps speed and agility, all within the app’s existing application lifecycle. Automated testing of secured Android and iOS apps helps developers and others rapidly deploy comprehensive mobile app security and fraud prevention with DevSecOps speed and agility.
This knowledge-base article covers the steps needed to test Android mobile apps secured by Appdome using Google’s Firebase mobile test automation suite.
Use Appdome’s Build2Test service to test Android-protected applications on Google Firebase for Automated testing.
Customers with an Appdome SRM license can use Appdome’s Build2Test service to quickly and easily test their Appdome-secured mobile apps using Google Firebase, without the need for different Fusion Sets. With Appdome’s Build2Test service, Appdome’s in-app defense model recognizes the unique signature of these testing services and allows for easy testing without issuing a security alert or forcing the app to exit, even if these services use tools such as Magisk or Frida.
For more details, see How to Use Appdome Mobile App Automation Testing.
General Information about Testing in Android Apps
Google Firebase allows testing apps by using its App Automate features, which can be used for testing Appdome secured mobile apps.
The following table describes which Appdome protection features may be triggered and the reason why:
| Appdome feature | Reason |
| Root Prevention | Some of Google Firebase devices are rooted |
| Detect Developer Options | Required to interact with the device – is turned on some Firebase’s devices |
| Block Android Debug Bridge (ADB) | Required to interact with the device |
| Block Magisk | Magisk is installed on some of the rooted devices |
| Prevent Keystroke Injection | The vendor uses adb command to enter text Screen |
| Click Bot Detected | Google Firebase uses automation testing with Robo Test |
| OS Remount | OS Remount is used for changing the read/write permissions of the device’s file system. |
| Block App Overlay Attacks | Google Firebase uses a transparent or opaque UI layer above the legitimate UI layer |
| User Denied Root Request | Appdome requests root access through an app permission request sent to the mobile user |
Testing .aab Apps
Unlike .apk apps, .aab apps must be re-signed before installation.
To avoid triggering Appdome’s Anti Tampering protection as a result of the re-signing process, you can use either of the following options:
- Use Appdome’s Build2Test
- Convert the test .aab app into a Universal .apk app, using the same key that was used for signing the .aab app. Make sure to use the Universal .apk file to test Google Firebase.
Automating App Testing on Android
To initiate Automating App testing of your test app in Google Firebase:
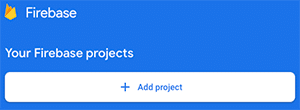
- Login to your Firebase console account.
- Click the Add Project button from the Firebase console page.
- Choose a name for your project and click continue.
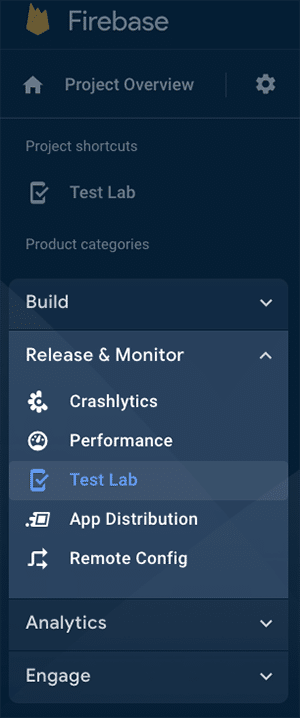
- Select Test Lab from the left side menu .
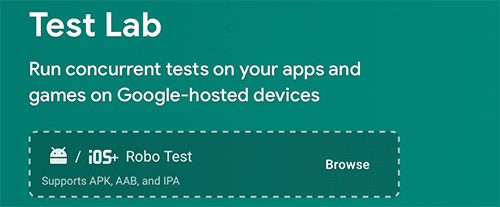
- Click Browse and upload your signed app build.
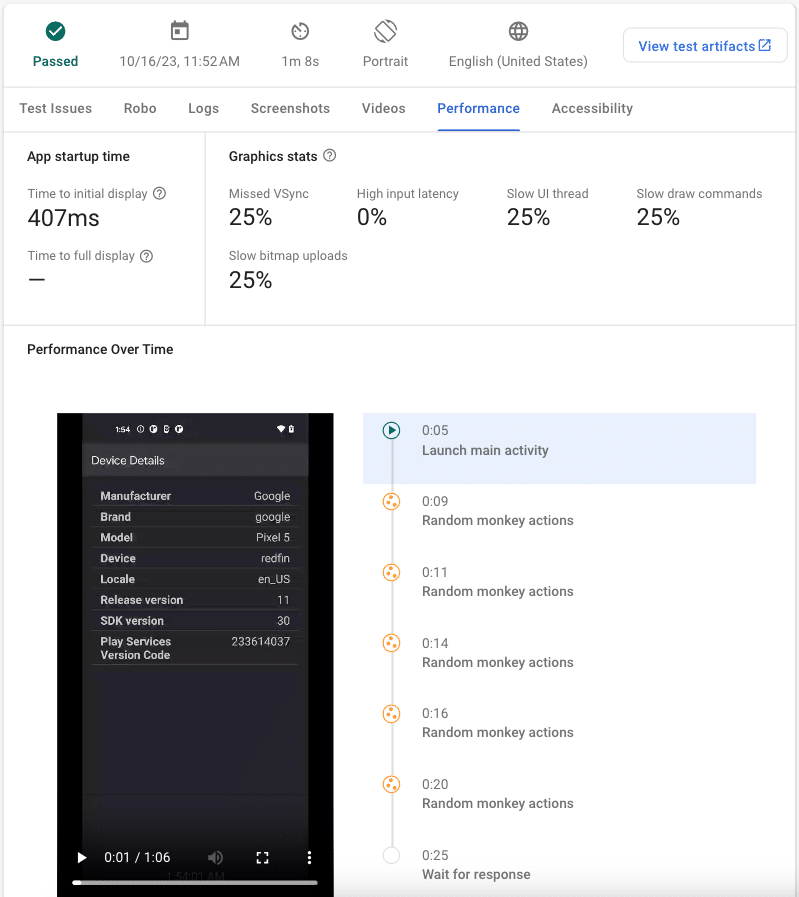
- After the app upload is complete, the test will start automatically with a compatible device.
- Once your app is automatically tested, you will need to wait a couple of minutes for the results.
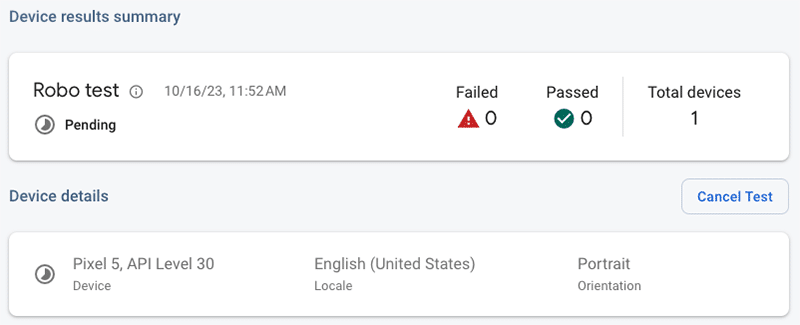
- Once the test is finished, you can click on the device and view the test cycle.
Note: In case of any issues with the app, send the device logs to Appdome Support by following these steps:
-
-
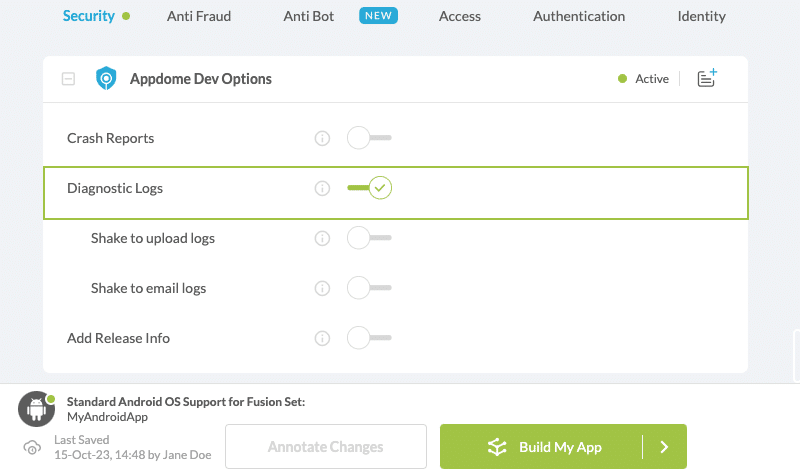
- Go to Build > Security on Appdome.
- Turn on the Diagnostic Logs toggle.
For more details, see the Knowledge Base article Appdome Diagnostic Logs for Troubleshooting Secured Apps.
- Go back to Google Firebase and re-run the steps used for uploading the app under your project.
- Select Logs and download it with View log file
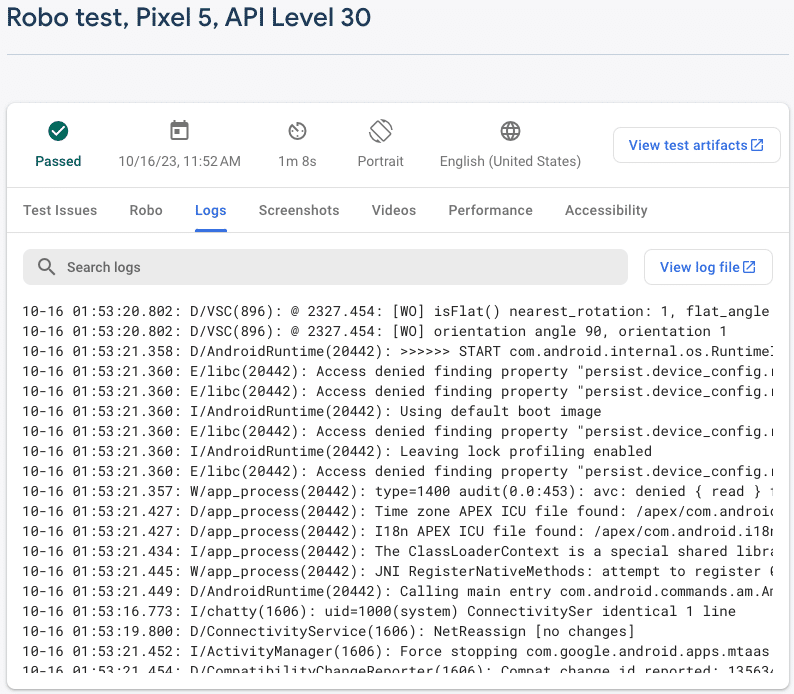
- Assign a name to the downloaded log, that includes the time when the issue occurred.
- Send the log via email to support.appdome.com , complete with the issue details, device model and OS version used during testing.
-
Troubleshooting Tips
Most automation test tools can typically be used in one of two modes: Emulator Mode and Real Device Mode (specific terms may vary according to the testing tool). If you use the automation test tool in “Emulator Mode” instead of “Real Device Mode”, the Appdome-secured application will not run on the device. This is expected because Appdome’s ONEShield protects apps from running on emulators/simulators. Instead, you should run the automation test tool on a real device.
Related Articles:
- How to Test Secured IOS Apps on Google Firebase Robo Test
- How to Test Secured iOS Apps on Lambdatest
- How to Use Appdome’s Build2Test Service
- Test Appdome-secured Android Apps by Using SauceLabs
- Testing Secured iOS Apps by Using SauceLabs
- How to Test Secured Android Apps on BitBar
- How to Test Secured Android Apps on Browserstack
If you have any questions, please send them our way at support.appdome.com or via the chat window on the Appdome platform.
Thank you!
Thanks for visiting Appdome! Our mission is to secure every app on the planet by making mobile app security easy. We hope we’re living up to the mission with your project.